Building Interactive Web APP with Gradio
A Open-source Python Course: From Beginner to Advanced (2024)
Building Interactive Web Apps with Gradio
This open-source Python tutorial will guide you in quickly building demos or web applications with Gradio. You’ll start by setting up your Python environment and end with deploying interactive apps. Learn to make interfaces for text and images, improve the user experience with layout customization, and manage complex interactions.
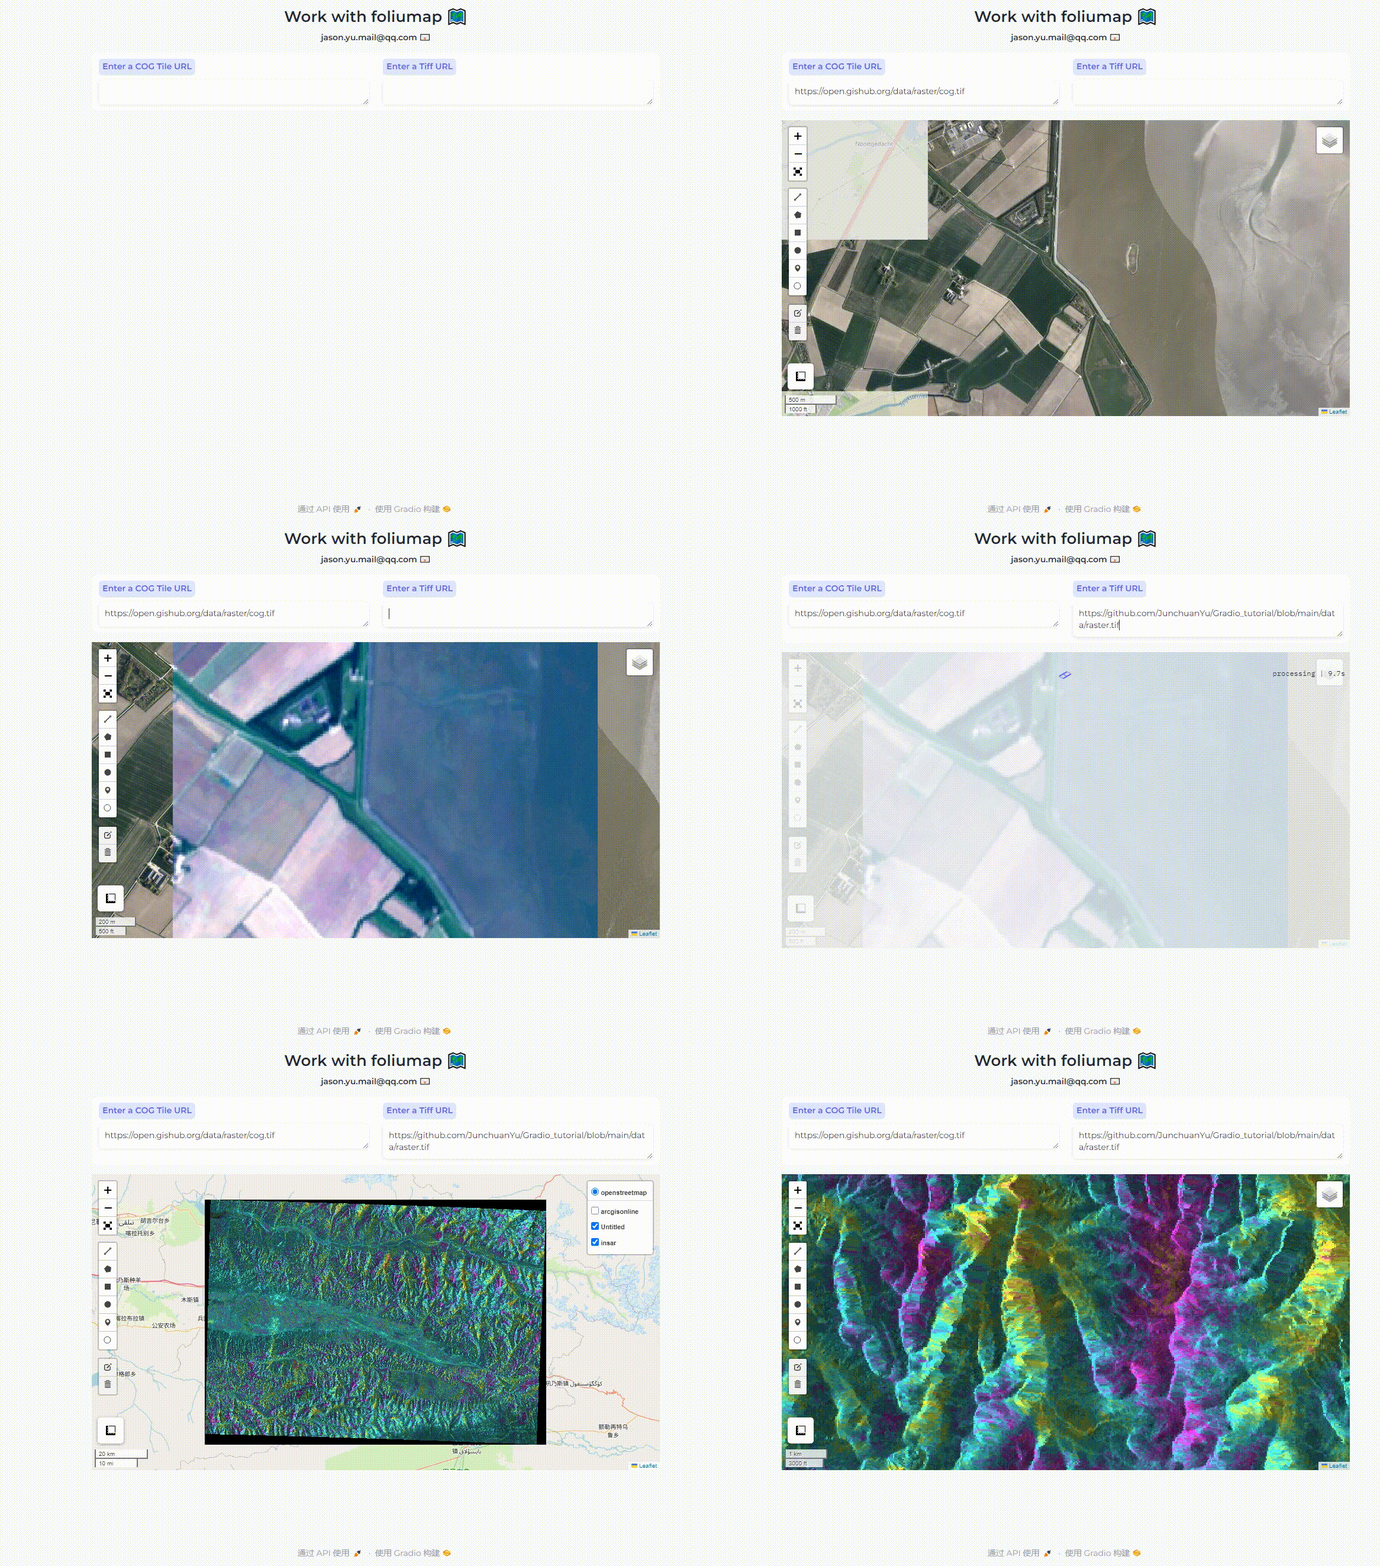
The course will also cover processing remote sensing data with Gradio and GDAL for tasks like image enhancement and slope analysis. You’ll discover how to create interactive maps with Gradio and Foliumap, enabling dynamic geospatial data visualization.
Designed to equip you with the skills to integrate machine learning models and deploy your apps on Hugging Face Spaces, the course includes practical examples, demos, and assignments. By completing the tutorial, you’ll be able to build, deploy, and share interactive web applications confidently and efficiently.

Comprehensive Installation Guide
1. Setting Up a Virtual Environment
To ensure compatibility and isolate dependencies, create a virtual environment named “gradiotask” or another name you prefer for this Gradio tutorial. This tutorial is built using Python 3.10.6. We recommend configuring a Python version 3.10 or above for the best experience.
- Creating and Activating the Virtual Environment Use the following command to create a new environment with Python 3.10.6:
bash conda create -n gradiotask python=3.10.6
- To activate the virtual environment, use the following command:
bash conda activate gradiotask> Tips: > Remember to activate your virtual environment (gradiotask) before installing or running any packages related to this tutorial. Once you are finished, you can deactivate the environment by runningconda deactivate. If necessary, you can remove the virtual environment with the commandconda env remove -n gradiotask.
2. Gradio Installation
Gradio requires Python 3.8 or higher. Before you proceed, ensure you have Python installed on your system. You can download it from Python’s official website.
We recommend installing Gradio using pip, which is included by default in Python. Run this in your terminal or command prompt:
pip install gradioTips: Detailed installation instructions for all common operating systems are provided here.
3. Additional Libraries Installation
For running the demos and ensuring compatibility, you may need to install the following libraries with specific versions:
- Pillow: Version 9.2.0
- pandas: Version 1.5.0
- GDAL: Version 3.4.3
- numpy: Version 1.23.3
- geopandas: Version 0.11.1
- Shapely: Version 1.8.4
- scikit-learn: Version 1.1.2
- joblib: Version 1.2.0
- openai: Version 1.16.2
- leafmap: Version 0.29.1
- Gradio: Version 4.27.0
Tips: To install these libraries, you can all use the pip install command, Installing GDAL can sometimes be problematic due to its size and dependencies. We recommend installing GDAL locally to avoid potential issues with online installation. Here is the GDAL 3.4.3 installation packages for windows and python 3.10. If you need other version of GDAL, please ensure you download the version that matches your operating system and Python environment.
Learn from the Demo
This tutorial is structured into six sections, with each section offering hands-on experience. Through 12 demo cases, you can learn how to build interactive web apps, from basic interfaces to complex machine learning integrations and geospatial visualizations, culminating in deploying on Hugging Face.
1. Introduction to Gradio
Demo 1-1: Build Your First Gradio App

DEMO 1-2: Display an Image
2. Interface Design and Interactive Components
DEMO 2-1: Interactive Multi-Component Gradio Interface

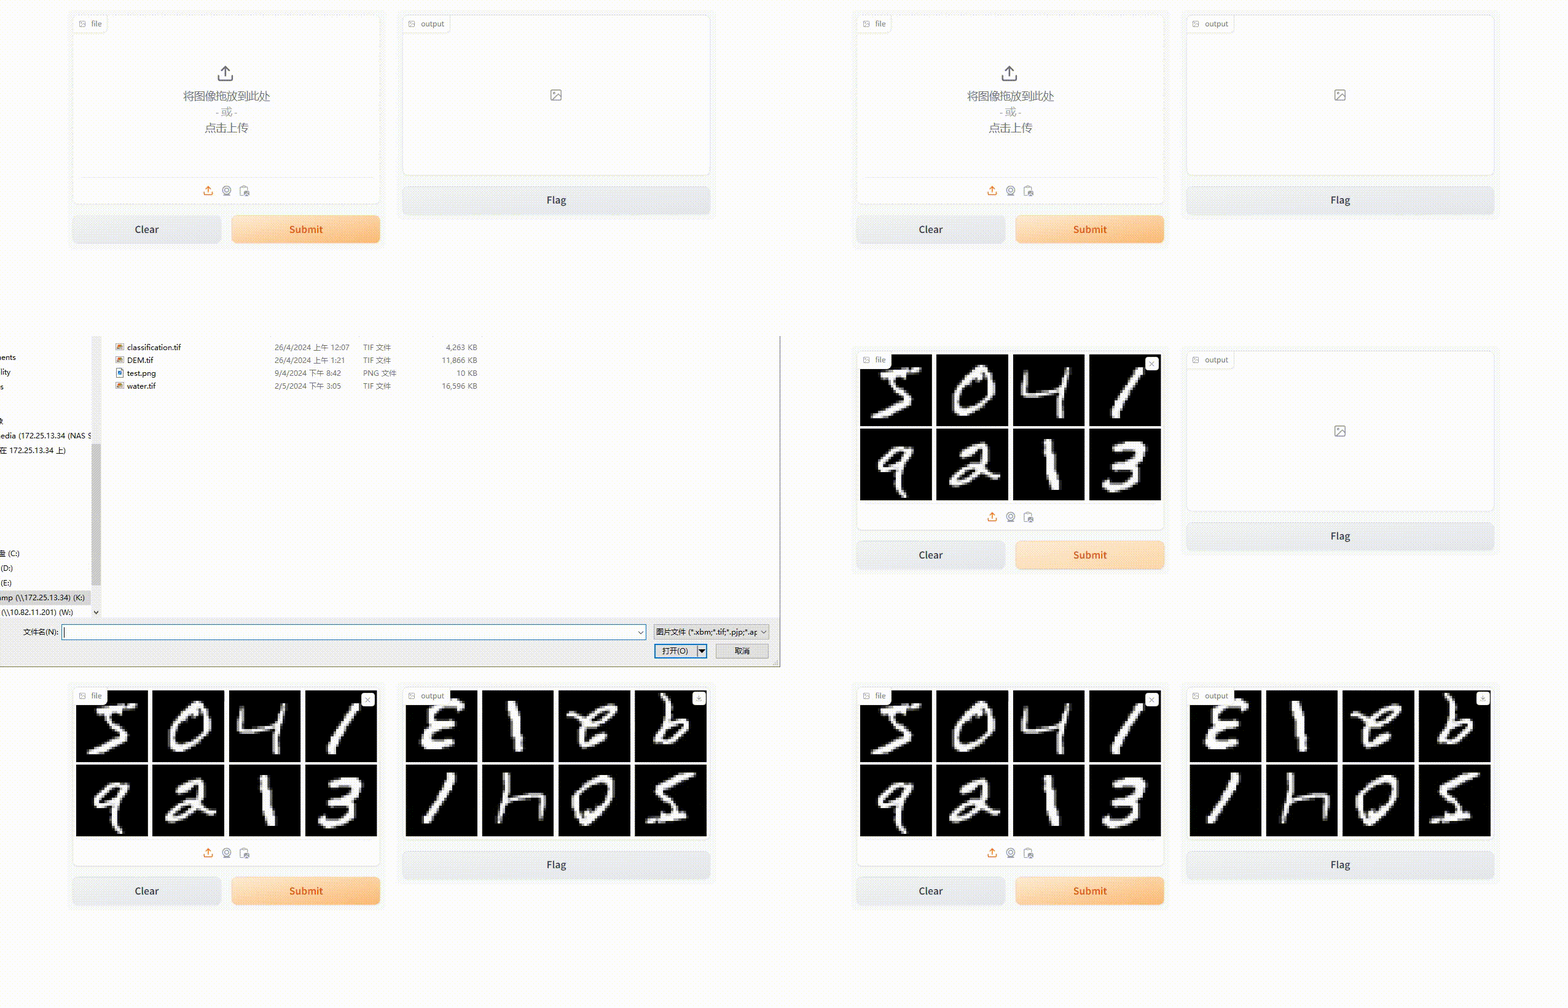
DEMO 2-2: Diverse Data Display and File Interaction App

3. Working with Remote Sensing Data
DEMO 3-1: Remote Sensing Imagery Visulization
 ##### DEMO 3-2: Geospatial Coordinate Conversion and Shapefile Generator App
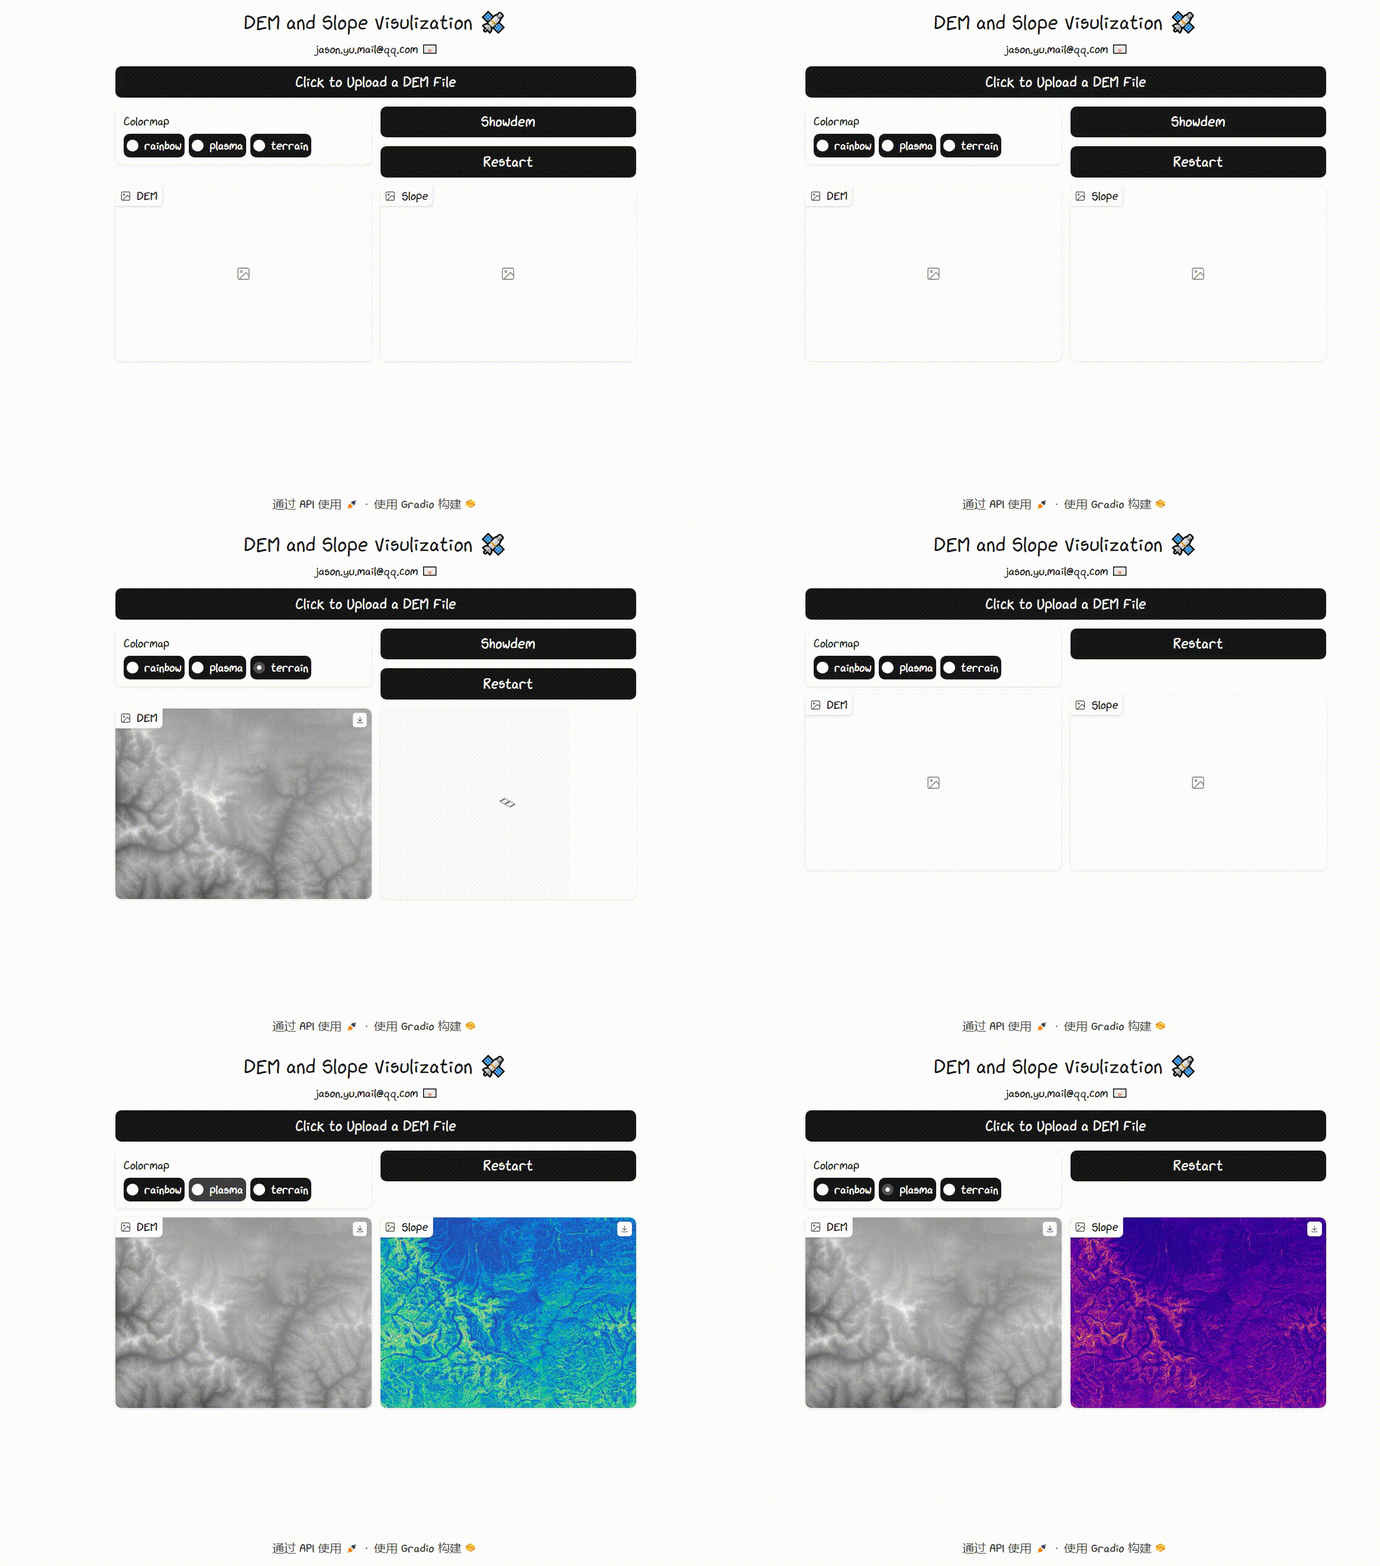
DEMO 3-3: DEM Visualization and Slope Analysis App
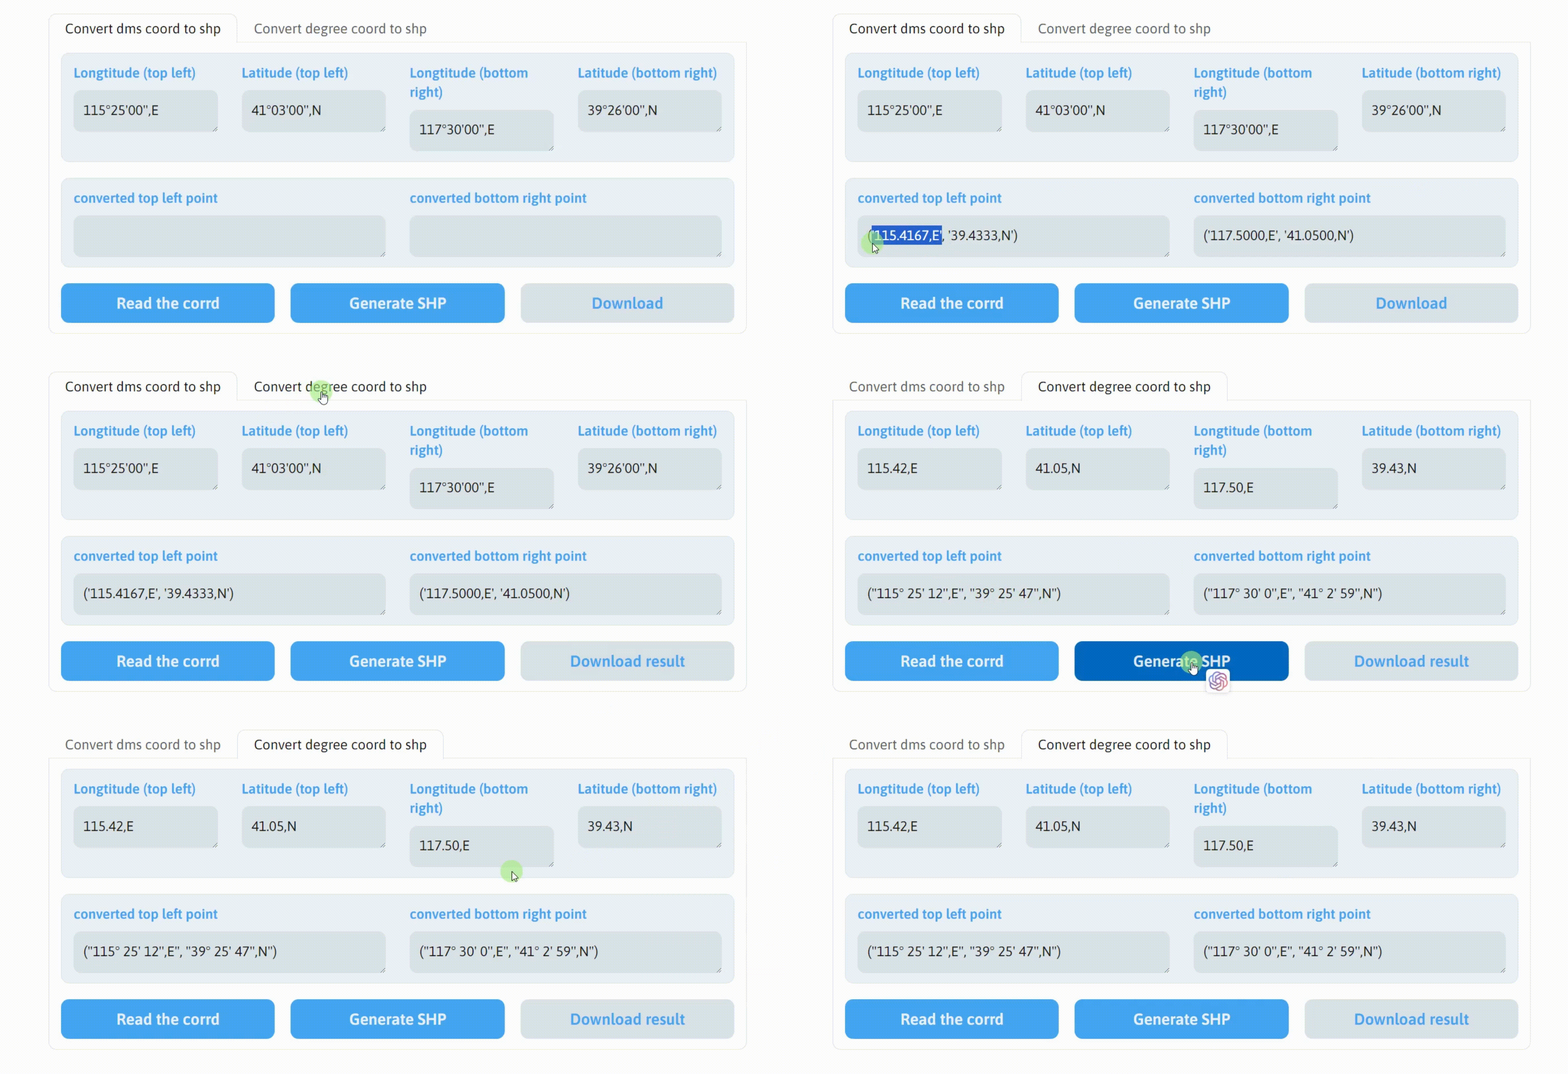
4. Application of Machine Learning Models
DEMO 4-1: Handwritten Digit Recognition App

DEMO 4-2: ChatBot App Building with Gradio and Kimi
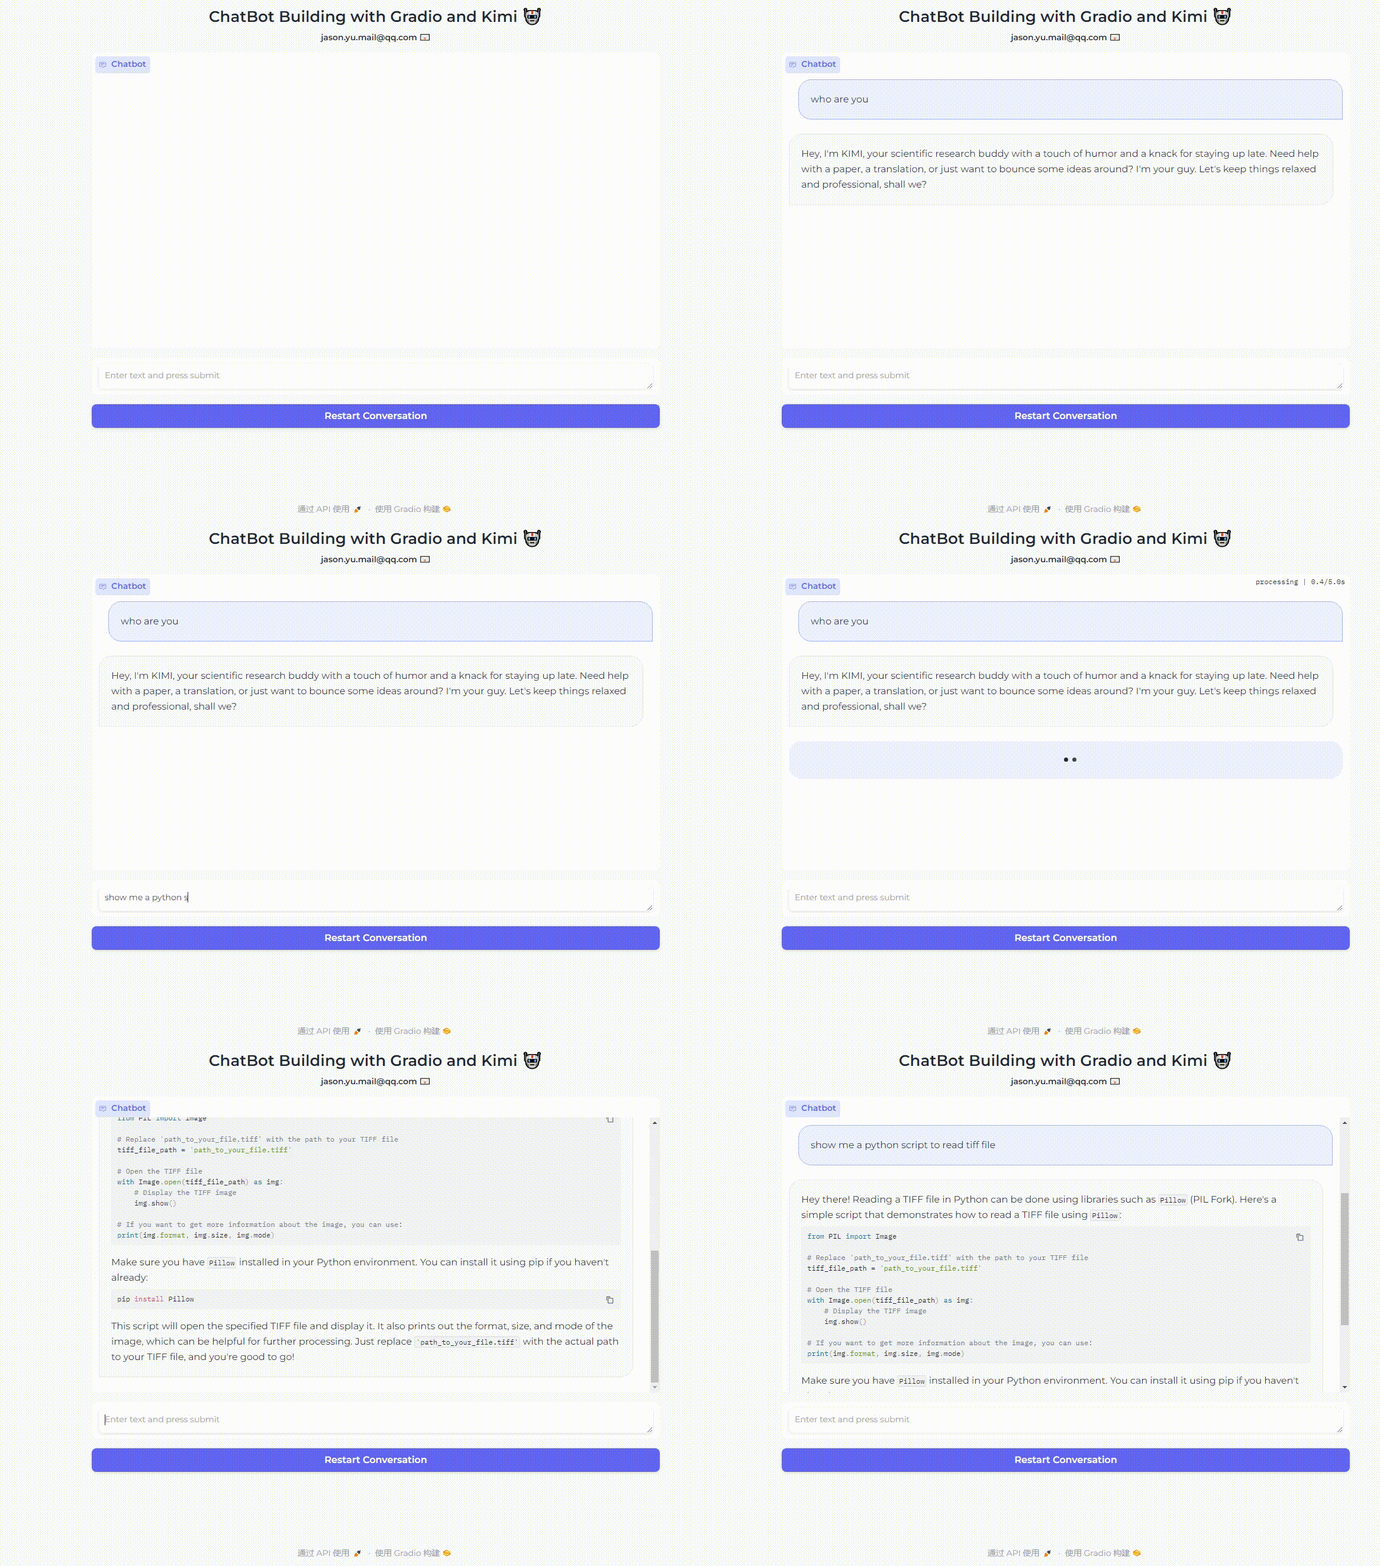
5. Building Interactive Maps Using Gradio and Folium.
DEMO 5-1: Interactive Map Generation Using Gradio and Leafmap
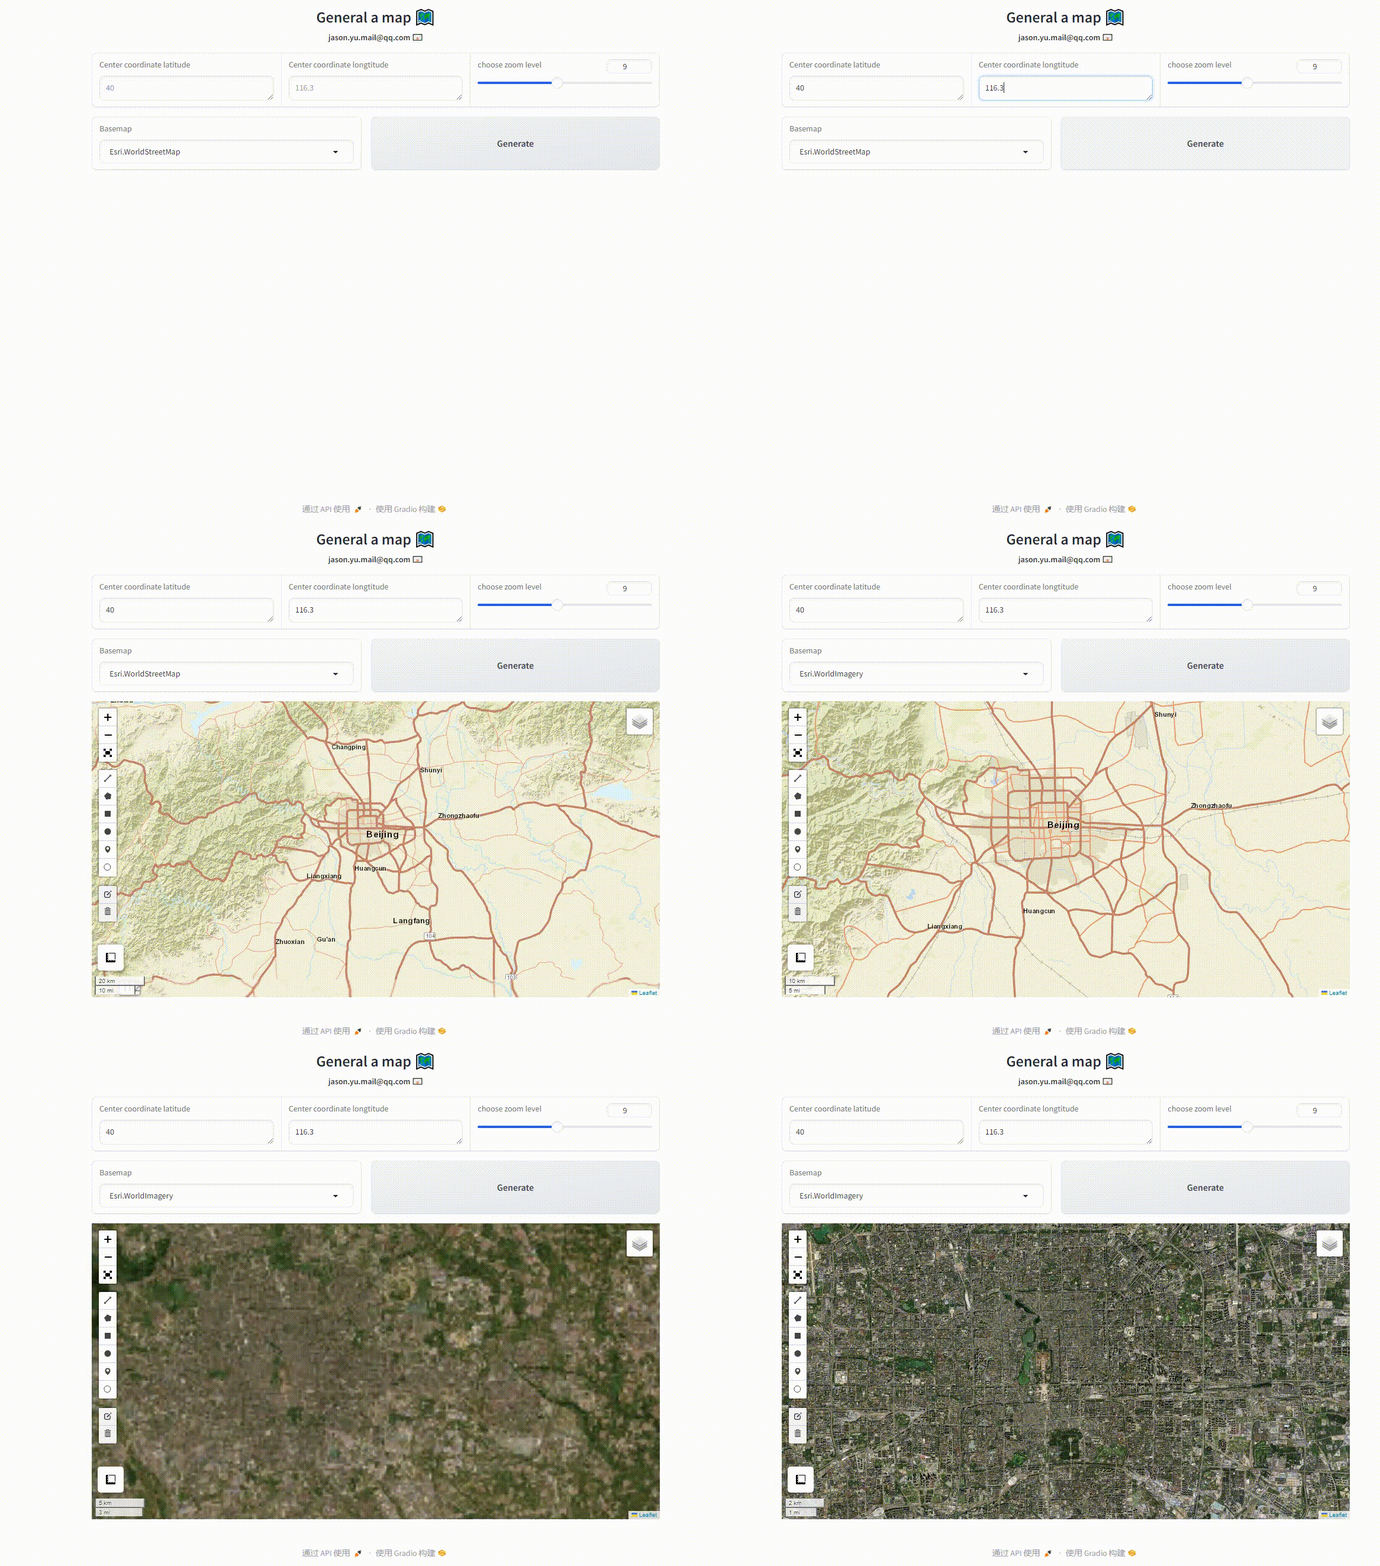
DEMO 5-2: Geospatial COG and TIFF Viewer App
